Set up opening data
When migrating from a previous accounting system to SNDQ, you need to transfer your building's historical financial data. SNDQ provides a guided migration wizard to import and review this data.
Important
You cannot enter the data directly in SNDQ. Fill in the provided Excel templates, send them to SNDQ, and the data will be imported for you. After import, you review and confirm the data in the wizard.
Excel templates
SNDQ provides 8 Excel templates to fill in your historical data. Download the templates, fill them in with data from your previous system, and send them to SNDQ for import.
| # | Template | Description | Download |
|---|---|---|---|
| 01 | Balance sheet | Full balance sheet (assets & liabilities) from the previous period | Download |
| 02 | Owner balances | Outstanding amounts per owner per unit | Download |
| 03 | Supplier balances | Outstanding debts per supplier | Download |
| 04 | Reserve fund & Working capital | Historical totals per owner | Download |
| 05 | Cost settlement | Previous year's cost settlement per owner with payment status | Download |
| 06 | New year provisions | Provisions, reserve fund, working capital for the new year | Download |
| 07 | Bank transactions — Current account | IBAN, start/end balance, transactions | Download |
| 08 | Bank transactions — Savings account | Savings account transactions | Download |
TIP
Fill in all templates carefully. The data must match exactly with your previous system's reports.
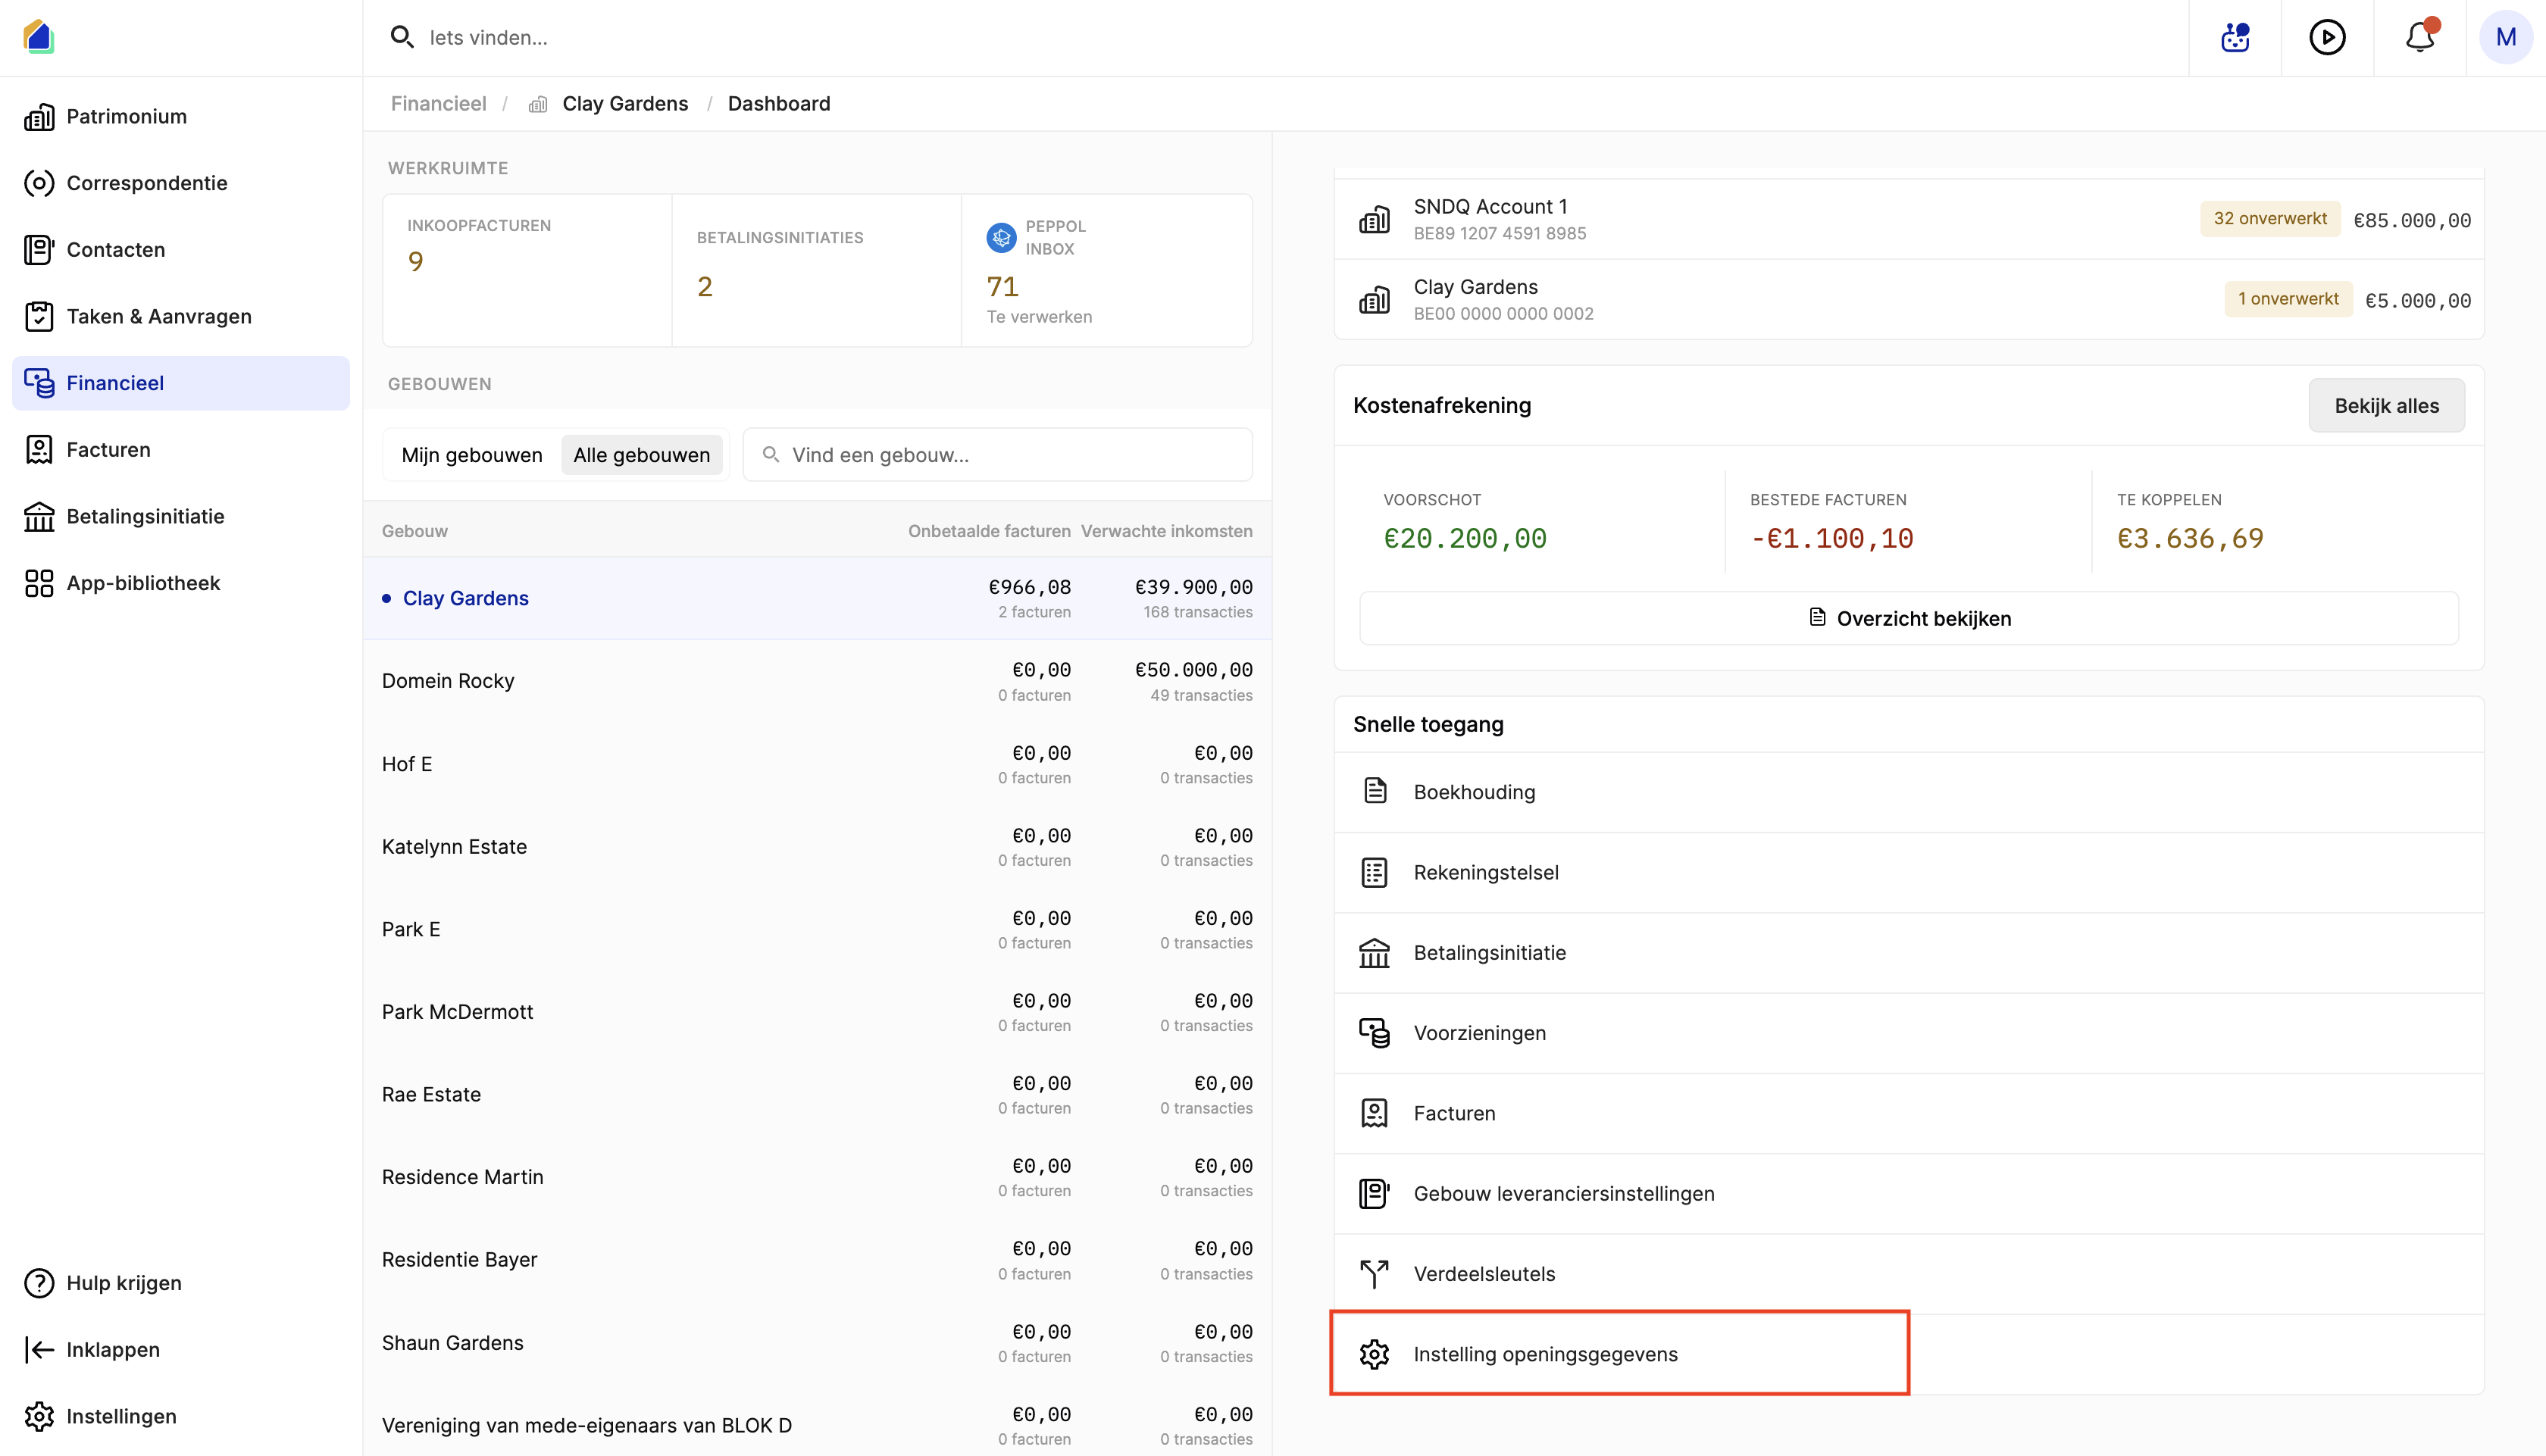
How to start
Go to Financial, select the building, and open the Dashboard. In the Quick access section, click Set up opening data.
Migration process overview
The migration wizard has 4 steps:
| Step | Name | Description |
|---|---|---|
| 1 | Introduction | Overview of the migration process |
| 2 | Fiscal year | Set the first fiscal year for the building |
| 3 | Enter data | Review imported historical data across 7 tabs |
| 4 | Balance | Verify the final balance (debit = credit) and confirm |
Step 1 — Introduction
The introduction screen explains the 4-step migration process. Click Next step to proceed.
Step 2 — Fiscal year
Set the first fiscal year for the building:
| Field | Description |
|---|---|
| Year | The fiscal year (e.g. 2026) |
| Start date | Start date of the fiscal year |
| End date | End date of the fiscal year |
Step 3 — Enter data
This is the main step. After SNDQ imports your Excel templates, you review the data across 7 tabs.
Owners
Shows the outstanding balances per co-owner from the previous system's final settlement. Use the filters to view all, positive (owner owes money), or negative (owner has credit) balances.
Verify each owner's settlement amount matches the final settlement from your previous system.
Working fund
Shows the working fund contributions per owner — unused provisions carried over to the new fiscal year. Each row shows the owner, unit, debit/credit amounts, and remaining balance.
Fixed provision
Shows the permanent buffer per owner — a one-time contribution that forms the working capital. Click on an owner to see the detail panel with historical data, advance requests, incoming payments, and the accounting entries that will be created.
Reserve capital
Shows the reserve fund contributions per owner across all historical years. Similar structure to the working fund tab.
Suppliers
Shows outstanding supplier balances. Click on a supplier to see the detail panel with historical data, the opening invoice created (with invoice number, amount, cost category, and communication), and payment options.
Verify each supplier's outstanding balance and ensure the cost category is correct.
Bank accounts
Shows the bank accounts with their closing balance from the previous period. Verify the IBAN and closing balance match your bank statement.
Other bookings
Shows additional balance items not covered by the other tabs — such as rounding differences, prepaid costs, or carried-over funds. You can filter by assets or liabilities, and add additional bookings via Add booking.
Step 4 — Balance
The final verification step shows a balance overview with assets on one side and liabilities on the other. Each line shows the account code, name, amount, and source.
The system verifies that total debit equals total credit. When the balance matches, you see a green indicator. If it does not match, review the data in Step 3 and correct any discrepancies.
Click Confirm to finalize the migration. This creates all financial bookings in SNDQ.
What gets created after confirmation
| Data type | What is created |
|---|---|
| Owner advance requests | Opening advance requests per owner for each fund type |
| Owner payments | Incoming payments matching the paid amounts |
| Cost settlement | Previous year's cost settlement with per-owner allocation |
| Supplier invoices | Opening balance invoices per supplier with cost category |
| Bank account balances | Opening balances on bank accounts |
| Accounting journals | Opening balance journal entries |
| Fund balances | Reserve fund and working capital per owner |
| Provisions | New year provision requests per owner |
Good to know
- Save as draft — click Save as draft at any point to save your progress and continue later.
- Review carefully — once confirmed, the migration bookings are created and difficult to reverse.
- Balance must match — the total debit must equal total credit before you can confirm.
- Multiple bank accounts — create a separate file per bank account (current + savings).
- Accounting codes — SNDQ automatically assigns accounting codes. Verify these are correct.
Related articles
Need help?
Contact our team at info@sndq.be or use the Get Help option in the SNDQ application.